Monday, September 17, 2012

Pizza!

So I've been wanting to tackle pizza - I tried it once many, many years ago and it failed badly.  I got myself a pizza stone (King Arthur was running a nice sale!), found a recipe, and got to it.


My recipe was the Heart Healthy Honey of a Pizza recipe from The Original King Arthur Flour Cookbook with a few modifications.  It called for half whole wheat flour, but I didn't have that so I used all unbleached white.  Though I will pick up some of their wheat flour for next time - I'm sure that would be nice.

 First I put warm water, yeast, and the honey in a bowl and let that start working.

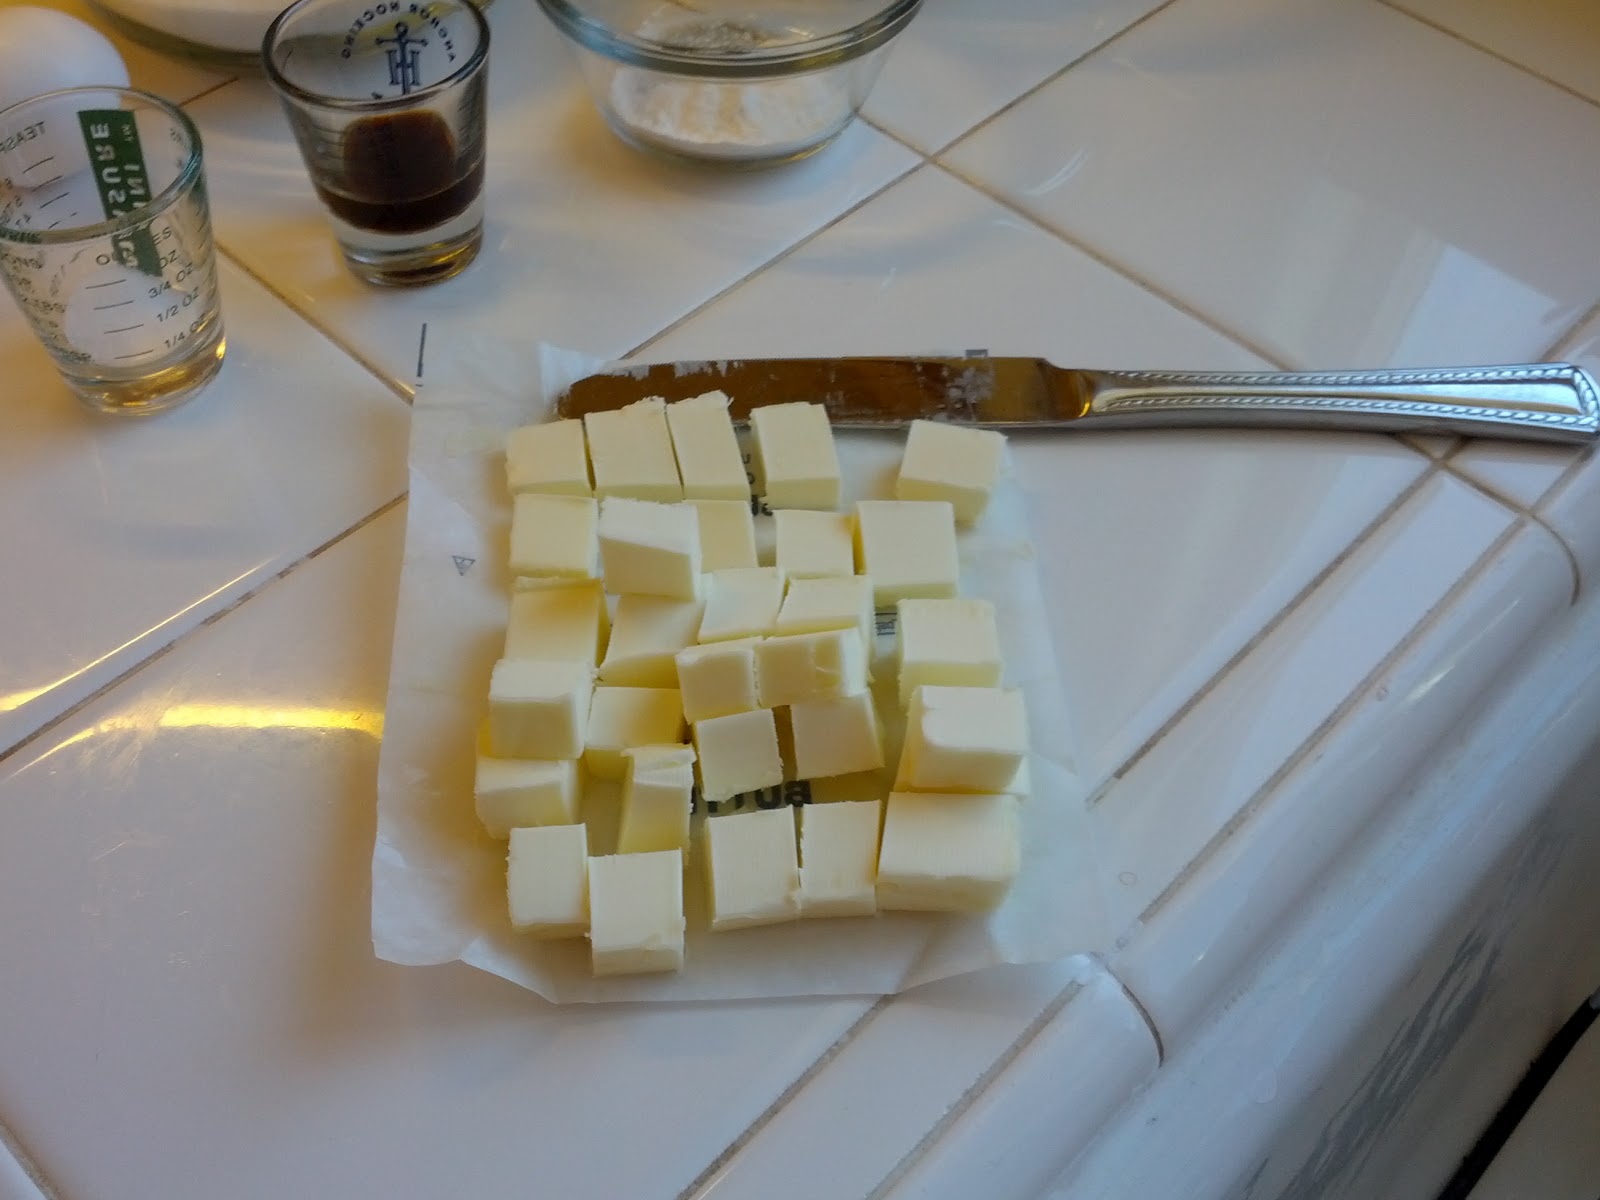
Then I added about a cup of the flour and the salt.

A spoon wasn't mixing it well enough for me, so I grabbed my little whisk.

Then I moved on to the dough whisk to pull the rest of the flour into the dough.

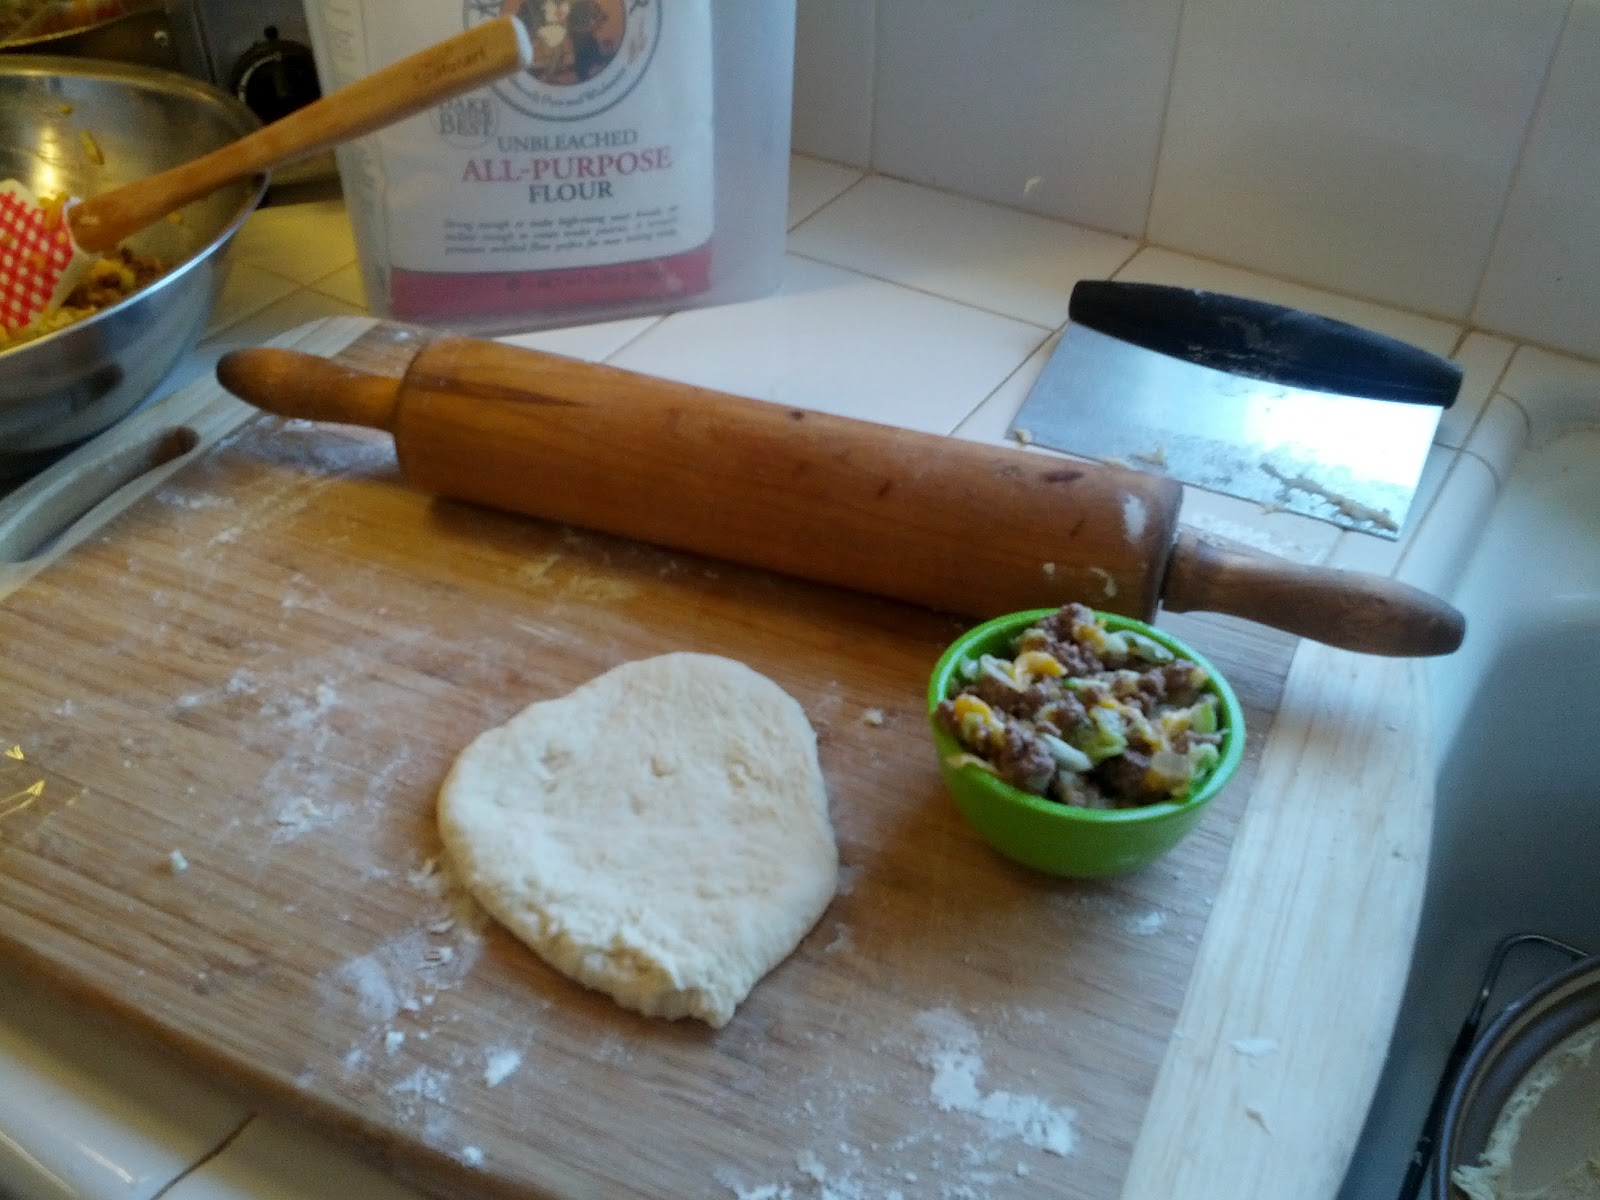
Here's the dough just pulled together and kneaded a bit.

I let it rest a few minutes and it smoothed out some.

I turned it into a lightly oiled bowl.  You can let this rise for two hours someplace warm-ish, but I decide to put it in the fridge for all day (about six hours).  This is supposed to develop the flavors more.

Here it is after about five hours.  I let it come to room temperature while I heated my oven and made my pesto.

I heard on a cooking show or I read in a cookbook somewhere about how to make a home oven sorta behave like a pizzaria pizza oven.  Those get up to like 700º or 800º and most home ovens can't match that, so it's hard to get a nice crust on them.  So here's what I did:  I put the rack in the oven on the second rung from the top.  I pre-heated the oven at 500º for about an hour.  Then I prepped my pizzas.  I put them on the stone and turned the heat down to 450º...so they had heat from below and above.  The strategy worked very nicely!  (corn meal on the spatula made the moving part easier, too.)

15 minutes later - viola!

The crusts came out beautifully!  Crispy on the bottom, just like they should be.

This was my first real pizza attempt, so I wasn't sure how to deal with the dough...I set it up for a thick crust, which my husband and I both like, but these were arguably a little too thick.  I'll handle the dough a little differently next time to get the crust a bit thinner.

By the way, the topping tonight was home-made pesto and mozzarella cheese torn into bits.

I was using a cake lifter, which was ok for little pizzas, but I think if I make a larger one I'm going to need an actual pizza peel.

Tomato Soup I


I got these HUGE heirloom tomatoes at the grocery store and wanted to make a nice tomato soup.  I found a recipe in The Essential New York Times Cookbook called very simply, Tomato Soup I.

Look at these babies!  They are more than 3.5 lbs altogether.

They were nice and deep red on the inside...tasted good, too.

First I cooked them down a bit - nothing but the tomatoes in here just now.


Meanwhile, I scalded some milk.  Now, I've never scaled milk before - I've always been worried about going to far and burn it, but I just did what Amanda said....heat it on med-high till there are some bubbles around the edge and some steam.  Then remove from heat.  I did so and did not end up burning any milk and the pan cleaned up nicely.

Got to use my food mill!

And was left with about 4.5 cups of cooked tomatoes.

I heated up a little butter, put in some salt, pepper, and five crushed-up saltines.

Then added my hot milk and tomatoes.

It came out more pink than red, but it was very, VERY good.  I think maybe the best version of tomato soup that I've had.  I have to say, the tomatoes themselves were critical to the taste of this.

I love these bowls from Le Creuset.  There are two full ladles of soup in there and I could still carry it to the table without worrying about being burned (which did, in fact, happen to me once before with hot home-made soup and resulted in a trip to the ER. Oouuch.)

Saturday, September 15, 2012

Baked Pancakes

Actually, these are officially called "The Newcastle Inn Baked Pancakes".   I think they are basically like individual Dutch Baby Pancakes (though I've yet to make those).

This is from The Original King Arthur Flour Cookbook.  The recipe is perfect for us because it just makes two!

First you melt a little butter.  

 I found this Lodge silicone handle cover at my grocery store and I like it.  (Wish mine was red, though!)

Then I lightly greased a couple of pans.  It called for two 6-inch cake pans, but I don't have those.  These are cast iron and a little bit bigger than what was called for.  I rolled the dice.

The batter was easy-peasy to put together.  It was very thin.

Divide it between the two pans....


Bake for 15 minutes at 450º and POOF!  Not sure how they would have been in a smaller pan...maybe a little thicker?  But I liked these just fine.


 The recipe says to turn them out right away, so I did.  I turned one over to see how the bottom looked.

A few blueberries, some powdered sugar, and a bit of nice syrup on the side, and I was ready to sit down.

These came out very nice!  I will do them again for us!

Sunday, June 10, 2012

Snickerdoodles

My husband wanted some cookies so I started browsing through the King Arthur Flour Cookie Companion.  So many yummy choices, but a friend inspired me to do Snickerdoodles this time.


When making cookies, your butter and eggs should be at room temperature.  The way I get my butter to come up to temp more quickly is to cut it into many pieces - it doesn't take long then.  I do not put it in the microwave.

So the sugar, fats, and vanilla get creamed first.  Don't just mix it a little...really let it cream together.  This takes a few minutes.

After that the eggs go in - I usually do this one at a time and scrape the bowl a bit.  Then the flour.  Actually, there was a tiny typo in this recipe.  It called for ingredients and then did not say when to add them.  I just put the salt and baking powder in with the flour and mixed it thoroughly there.  That gets added last and you don't want to over mix once the flour is in.

So here's the dough, the cinnamon sugar and a portion scoop.  I don't know why I lived as long as I did without a few portion scoops in different sizes in my life.  They really make things easier.

I scooped a few balls of dough...

swirled them in the sugar (or scooped some on top)...

and placed them on the cookie sheets.

Next, they need to be flattened out a bit with a clean glass.

By the way, do you know that you can buy parchment paper in pre-cut sheets?  I love this stuff.  The stuff on the roll always wants to curl up and it never tears off right anyway.  I use parchment paper and never use non-stick spray or butter or anything - the parchment will prevent stickage.  Don't use waxed paper - that's a different animal and will likely burn a bit in there with your cookies.  Not a very complementary smell.

Into the oven.  At the midpoint of baking, I rotate cookies - top to bottom and front to back.  This gives you more even baking.  I think if you use a the convection part of your convection oven (that is, the fan), this is less of an issue, but I don't have one of those fancy ovens so I have to move my pans around myself.

Lovely cinnamon smells fill the house....

I removed these all from the pan right away to a cooling rack.  Don't leave them on the pan as it is still hot and will continue to 'cook' the cookies.  BTW, the stacked ones were already cooled off from a prior batch.

The recipe said it would yield 7 dozen and it came pretty close - I got 6 dozen.  But I was using a portion scoop of a particular size, so that's fine.  The portion scoop really helps get evenly-sized cookies so the baking occurs nice and even, too.

 Here's my polite little serving.

I won't tell you how many times I refilled the plate, though.


Beer Rocks? No, Bierocks!

Also known as Runsas or Nebraska Beef Buns.  I saw this recipe in the June/July 2012 issue of Cook's Country and had to try it.  I got the ingredients and started in last Saturday - though what I thought might be a late lunch turned into dinner as these take some time to make.


First you make the dough.  It has to rest for about an hour.

Look at how HUGE this got! 

Meanwhile, I cooked up the beef.  Actually, CC has you do the filling part before you do the dough part, but I did it the other way around.

I did two pans for the filling as it called for some cooked cabbage and my husband doesn't care for it.

 His:

Hers:

 My purdy pots simmering side by side...

  So here are the fillings all cooked up and mixed with some Colby/Jack cheese.

  So now I took my dough and divided it into two parts, and then each half into six.

Leaving the other parts covered in cling film, I rolled the dough out to about 5 or 6 inches around.
 

Then I took a half-cup measure and filled it with filling.

They want you to place the filling on the dough, but the light bulb went on for me and this is how I did it.  I put the dough over the cup....

then I flipped it over...

removed the cup...

and pulled the dough together and pinched it shut.  Well, I thought I was pretty clever, I tell you.

Here are the Bierocks.  I put them on parchment paper and folded the corner of the cabbage-free tray for my husband.

Then they get covered in cling film and have to rest/rise again!

 So FINALLY they are ready for their egg wash and baking.

Some of the dough balls rolled out to kinda thin in the middles and broke a bit, so they didn't win a beauty pageant, but they were very yummy.

Here's a pretty one.

 Delicious!

And the left-overs freeze well, I'm told.  A good thing, because six each was a lot for us!  I just wrapped them up tight in foil and put them in marked bags.


I will definitely do these again - probably in advance since they took so much time.