Sunday, June 10, 2012

Snickerdoodles

My husband wanted some cookies so I started browsing through the King Arthur Flour Cookie Companion.  So many yummy choices, but a friend inspired me to do Snickerdoodles this time.


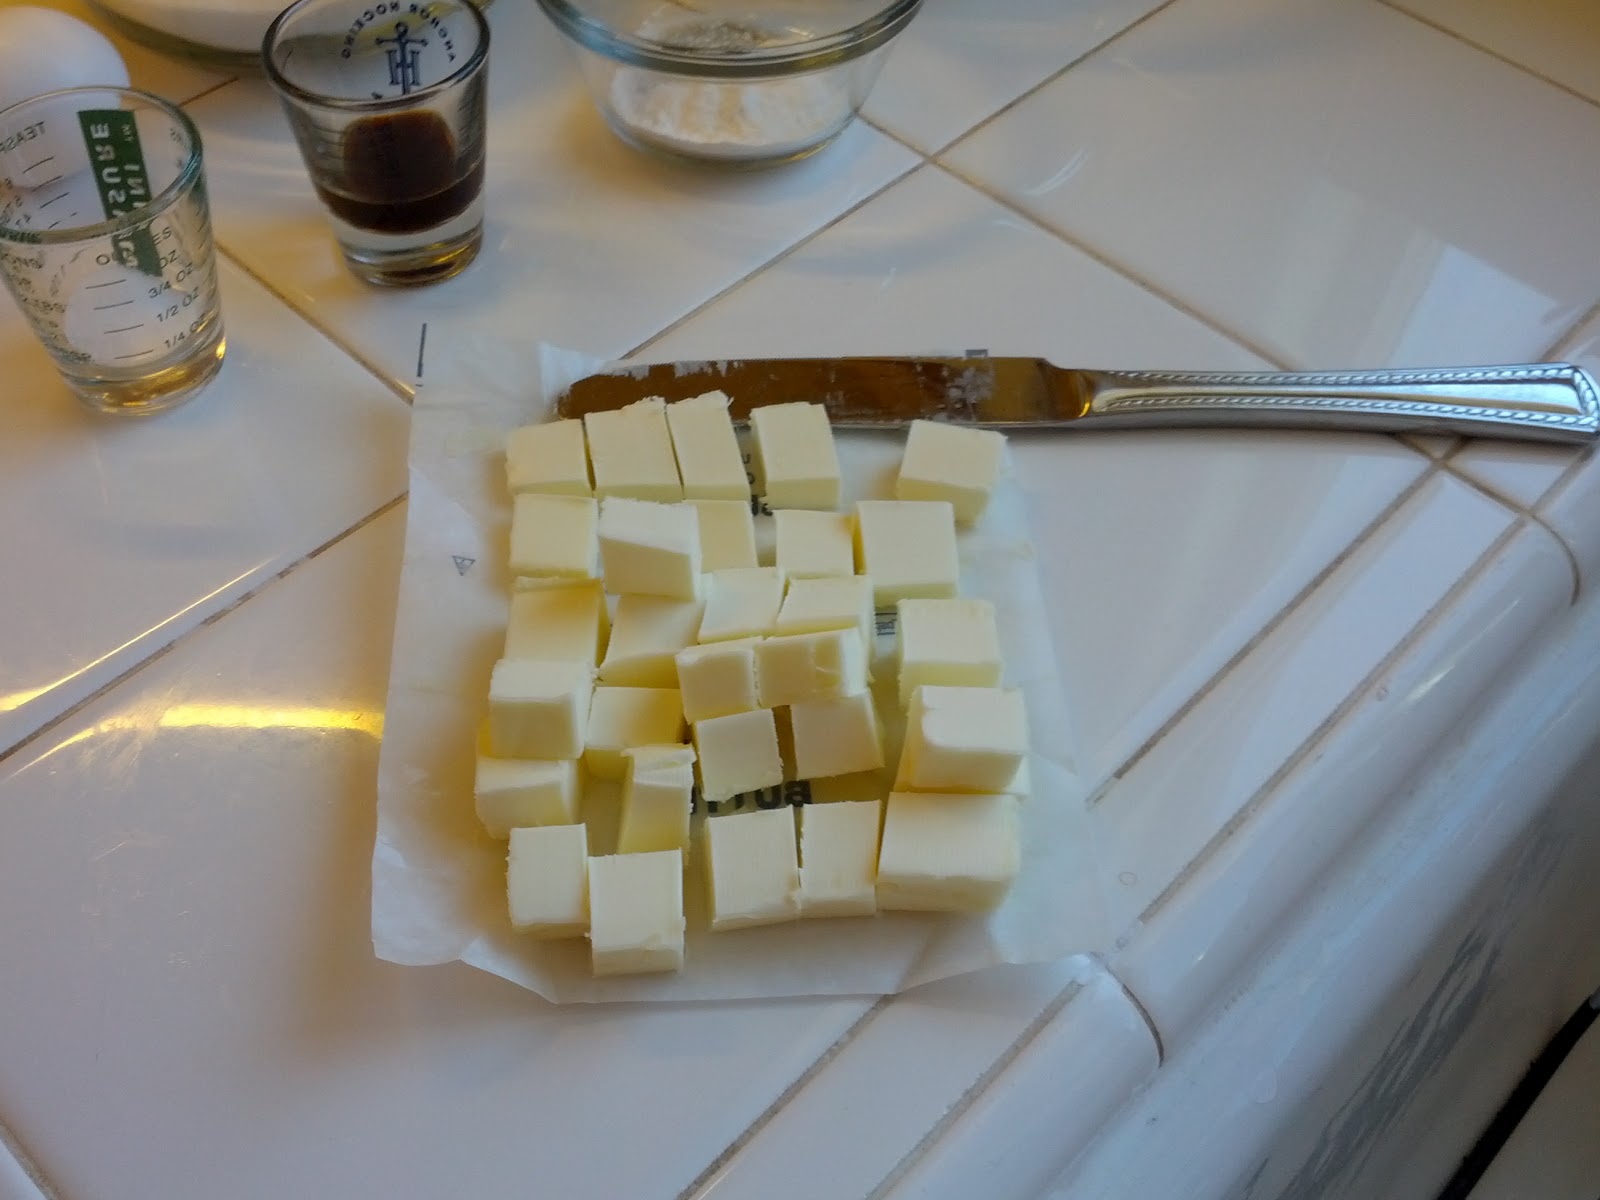
When making cookies, your butter and eggs should be at room temperature.  The way I get my butter to come up to temp more quickly is to cut it into many pieces - it doesn't take long then.  I do not put it in the microwave.
So the sugar, fats, and vanilla get creamed first.  Don't just mix it a little...really let it cream together.  This takes a few minutes.

After that the eggs go in - I usually do this one at a time and scrape the bowl a bit.  Then the flour.  Actually, there was a tiny typo in this recipe.  It called for ingredients and then did not say when to add them.  I just put the salt and baking powder in with the flour and mixed it thoroughly there.  That gets added last and you don't want to over mix once the flour is in.

So here's the dough, the cinnamon sugar and a portion scoop.  I don't know why I lived as long as I did without a few portion scoops in different sizes in my life.  They really make things easier.

I scooped a few balls of dough...

swirled them in the sugar (or scooped some on top)...

and placed them on the cookie sheets.

Next, they need to be flattened out a bit with a clean glass.

By the way, do you know that you can buy parchment paper in pre-cut sheets?  I love this stuff.  The stuff on the roll always wants to curl up and it never tears off right anyway.  I use parchment paper and never use non-stick spray or butter or anything - the parchment will prevent stickage.  Don't use waxed paper - that's a different animal and will likely burn a bit in there with your cookies.  Not a very complementary smell.

Into the oven.  At the midpoint of baking, I rotate cookies - top to bottom and front to back.  This gives you more even baking.  I think if you use a the convection part of your convection oven (that is, the fan), this is less of an issue, but I don't have one of those fancy ovens so I have to move my pans around myself.

Lovely cinnamon smells fill the house....

I removed these all from the pan right away to a cooling rack.  Don't leave them on the pan as it is still hot and will continue to 'cook' the cookies.  BTW, the stacked ones were already cooled off from a prior batch.

The recipe said it would yield 7 dozen and it came pretty close - I got 6 dozen.  But I was using a portion scoop of a particular size, so that's fine.  The portion scoop really helps get evenly-sized cookies so the baking occurs nice and even, too.

 Here's my polite little serving.

I won't tell you how many times I refilled the plate, though.


Beer Rocks? No, Bierocks!

Also known as Runsas or Nebraska Beef Buns.  I saw this recipe in the June/July 2012 issue of Cook's Country and had to try it.  I got the ingredients and started in last Saturday - though what I thought might be a late lunch turned into dinner as these take some time to make.


First you make the dough.  It has to rest for about an hour.

Look at how HUGE this got! 

Meanwhile, I cooked up the beef.  Actually, CC has you do the filling part before you do the dough part, but I did it the other way around.

I did two pans for the filling as it called for some cooked cabbage and my husband doesn't care for it.

 His:

Hers:

 My purdy pots simmering side by side...

  So here are the fillings all cooked up and mixed with some Colby/Jack cheese.

  So now I took my dough and divided it into two parts, and then each half into six.

Leaving the other parts covered in cling film, I rolled the dough out to about 5 or 6 inches around.
 

Then I took a half-cup measure and filled it with filling.

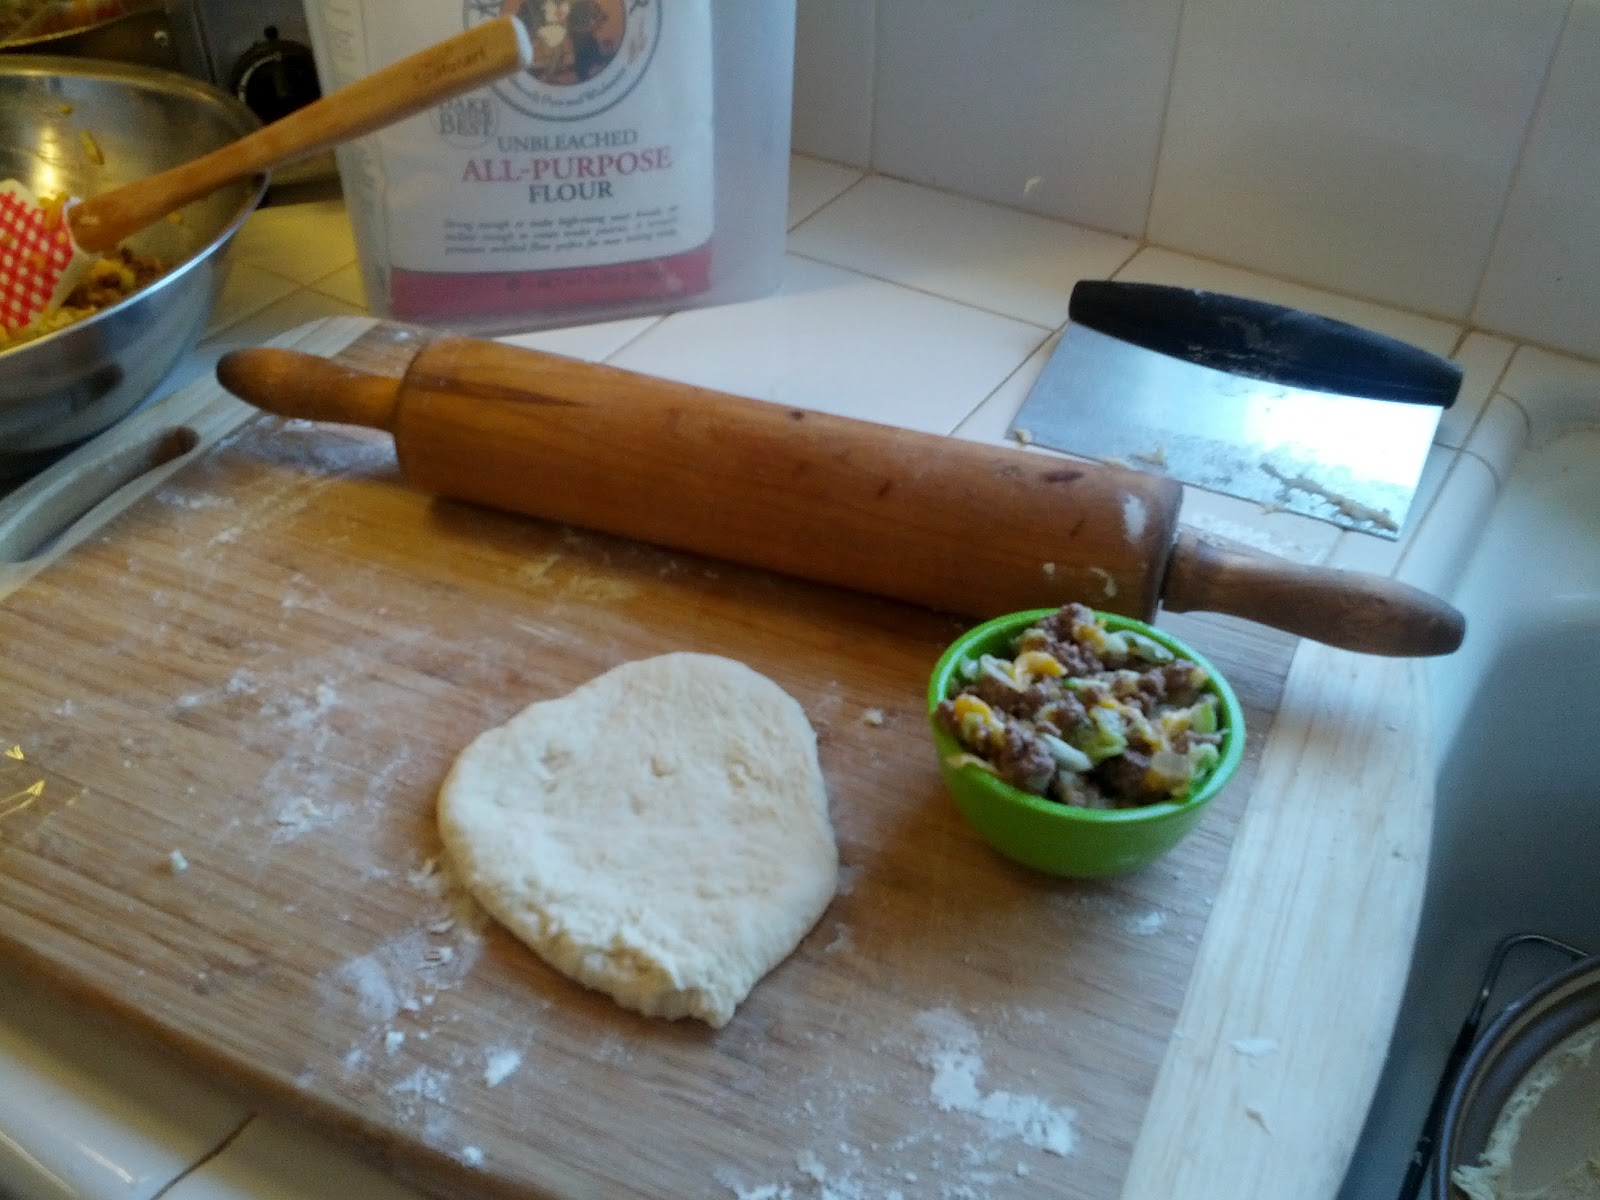
They want you to place the filling on the dough, but the light bulb went on for me and this is how I did it.  I put the dough over the cup....

then I flipped it over...

removed the cup...

and pulled the dough together and pinched it shut.  Well, I thought I was pretty clever, I tell you.

Here are the Bierocks.  I put them on parchment paper and folded the corner of the cabbage-free tray for my husband.

Then they get covered in cling film and have to rest/rise again!

 So FINALLY they are ready for their egg wash and baking.

Some of the dough balls rolled out to kinda thin in the middles and broke a bit, so they didn't win a beauty pageant, but they were very yummy.

Here's a pretty one.

 Delicious!

And the left-overs freeze well, I'm told.  A good thing, because six each was a lot for us!  I just wrapped them up tight in foil and put them in marked bags.


I will definitely do these again - probably in advance since they took so much time.

Sunday, March 25, 2012

Applesauce Snack Cake and Silicone Bakeware - do they mix?

I look around on eBay for cool kitchen items sometimes and saw this neat bundt loaf pan that I hadn't seen before.  I lost the bid on that one (sniff) and kept looking for one like it.

I also check out thrift stores for good deals on kitchen stuff.  Yesterday I wandered through my local thrift store and noticed this for $2.50:


That's exactly the shape and size I was thinking about, but I've never bought any silicone bakeware before and was a little unsure about it.  The couple bucks it cost was worth a shot to me, though.

I was so excited about it I decided to make a cake last night.  My son and I are the only ones home at this moment (hubby is out of town for a few days), and he generally isn't a chocolate cake fan - he tends to like desserts that are more fruity.  So, I chose an applesauce snack cake from Americas Test Kitchen Family Baking Book, which I like to call "ATK Blue"

I was going to take more pictures, but I was having a little technical difficulty with my camera.

This recipe called for a couple of ounces of dried apples to be chopped to smallish pieces and then you simmer those in a cup of apple cider for about 15 minutes and let them cool.  You also need to melt a stick of butter and let that cool.  An egg and a cup of applesauce need to come to room temperature.  So this recipe needs a wee bit of planning ahead - it doesn't just 'throw' together'.  Happily, I had the time to do this recipe right, as it was deLICious!!


I was very happy with how the tufted design showed up and the cake released easily (with no butter or PAM spray or anything at all).  I was also very happy with the wire frame that came with this as it made it pretty easy to handle.

This cake turned out a bit 'short' but only because the recipe only yielded so much batter - it was designed for an 8x8 square pan, which they wanted you to create a foil sling for and then grease the sling.  The pan could have taken 9 or maybe 10 cups of batter.  I will definitely use this pan again for a larger cake recipe soon.  We have an office party next week...maybe I'll make a chocolate pound cake or something...


~ks

Saturday, March 10, 2012

mmmm.....Muffins!

Haven't posted in a long while - my camera had some problems and February was short anyway...so here I am, back at it!

I was in the mood to bake and I had some blueberries that I needed to use, so I found a basic muffin recipe in King Arthur Flour Bakers Companion for "All-Star Muffins" which includes several variations as possibilities.

I gathered my ingredients, turned on my oven, and prepped my pans.  I've only recently in my life discovered the wonderful world of portion control scoops.  Aren't those liners cute?  Most of the cute faded away in the baking process, though.  :-(

I cut up my butter and let it come up to room temperature in the mixing bowl while I assembled the rest of the ingredients.

Here's the dry ingredients (except the sugar - sugar is regarded as a 'wet' ingredient due to how it behaves).

Ok, so you blend the softened butter and the sugar together until light and fluffy.  This takes a few minutes.
Not there yet....


Almost there...


There it is...light and fluffy.


I added my eggs one at a time.  For me this is easier done by prepping each of them in their own little bowl.  Mix after each addition.  Also, that spatula there is by Kitchen Aid and it may look like a funny shape, but it really is the best for scraping the bottom of my (also Kitchen Aid) mixer.  


Next goes some sour cream and vanilla. Mix well.
  

And then the dry ingredients...You don't want to overmix at this point or you will activate the gluten too much and have a heavier product.  Just gently mix until combined and stop.

Ok, so that's the basic mix, and from here you can make several variations.  I had some blueberries that I wanted to use up, but for some strange reason, I also wanted some chocolate in there.  So I used some 'mini' chips with the berries.

See how tiny they are compared to a regular sized chip?

I folded in those last add-ins by hand.

I scooped them into the liners and dusted them with some cinnamon sugar.  I used my small strainer for this to help make the coating nice and even.


Ready to go.  I got a few more muffins than the recipe said I'd get - I guess they figured on a bit larger muffin, but this worked out nice for me.


And done!  My two pans are a bit different.  The blue one on the left is enamel-coated cast iron and has slightly smaller cups.  I just watched them closely for time and ended up taking the other pan out a few minutes before the heavier cast iron one.


Not sure if you can see what I mean here...


But this was the difference in the final product.  Both tasted the same (yummy!), but the ones made in the smaller cups were forced to rise a bit more.  (Remember I used a portion control scoop so the same amount of batter went into each cup.)


Delicious!


~ks